
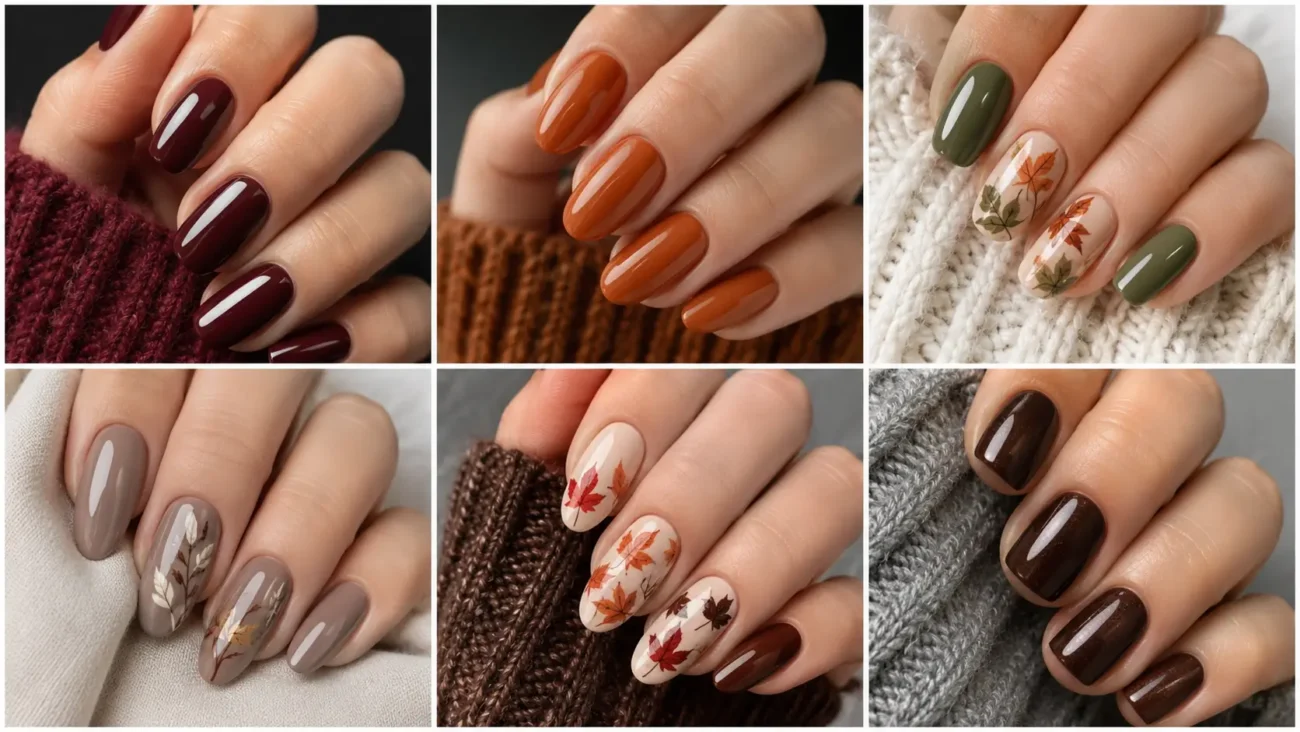
Fall nail designs can express the season without returning to leaves, pumpkins, plaid, sweater texture, or objects explored in earlier manicures. A fresher approach looks at the tools and forms that quietly appear when wardrobes change, gardens are prepared, and cooler air settles in. The six themes below explore pocket hand warmers, hat blocks, garden dibbers, barometer capsules, walking cane collars, and seed drills. Espresso, mustard, burgundy, royal blue, fog gray, olive, and aged metal tones give every concept autumn depth. Each theme includes three different interpretations for short square, rounded, oval, almond, coffin, or natural nails, allowing the set to remain connected without repeating one complete image across the hands.
Pocket Hand Warmer Nails With Compact Vent Geometry
Pocket hand warmer nails turn curved cases, sliding caps, fuel chambers, and controlled vents into sleek seasonal artwork. Espresso, brushed silver, mustard, black cherry, and warm cream create a rich palette that feels modern beside coats and leather accessories. Keep the metal sections broad and the openings selective so they do not resemble ordinary dots. Short nails can carry one enlarged cap, while almond and coffin shapes can support a longer case that follows the direction of the nail.
Arrange Mustard Vents Across Brushed Silver
Paint the nail espresso and place one brushed silver panel through the center. Add five mustard openings in an uneven arrangement, making the middle opening longest and leaving generous silver around every shape. A black cherry switch near the cuticle introduces warmth. Stop the panel before the tip so the espresso base frames the design and prevents the vent pattern from looking like a repeated grid.
Slide a Cream Cap Toward the Point
Use a black cherry foundation and paint one warm cream cap beginning at the lower side. Extend it diagonally toward the point, then add a narrow silver rail beneath its inner edge. Place one mustard stop near the widest part. The moving cap gives almond and oval nails natural direction while the uncovered burgundy area keeps the manicure deep, glossy, and easy to coordinate.
Crop a Fuel Chamber Across One Corner
Apply fog gray polish and create one espresso chamber entering from the upper corner. Add a curved cream boundary, a brushed silver fastening point, and one small mustard window near the visible edge. Let most of the chamber disappear beyond the nail. The enlarged viewpoint creates clear structure on short square nails without covering the entire surface in dark color.
Hat Block Nails With Sculpted Millinery Curves
Hat block nails borrow from the smooth wooden forms used to shape crowns and brims. Rounded shoulders, sizing grooves, removable bases, and carved registration marks naturally complement oval and almond nails. Walnut, oxblood, clay, cream, and muted blue create a refined fall palette without using felt, fabric, or complete hat illustrations. Smooth finishes keep the concept elegant, while carefully placed shadows make each carved form appear dimensional without requiring bulky decoration.
Shape a Walnut Crown Over Muted Blue
Paint the nail muted blue and place one walnut crown form through the center. Give it a rounded top, slightly narrower sides, and a flat cream base near the cuticle. Add one oxblood sizing groove around the lower third. Leave blue visible along both sides so the wooden form feels sculpted and the nail keeps its graceful outline.
Extend a Clay Brim Beyond the Side
Use a warm cream base and paint one clay brim entering from the outer side. Curve the upper edge toward the center and add a walnut crown section that disappears beyond the same edge. A small muted blue registration mark near the brim gives the design a crafted detail. The cropped placement makes the object feel larger and keeps the opposite half quiet.
Stack Two Sizing Rings Near the Tip
Apply oxblood polish and create two narrow walnut rings near the tip, changing their width and leaving a thin burgundy gap between them. Add a cream block beneath the lower ring and one clay shadow along the outer edge. This abstracted view highlights the tapered end of almond or coffin nails without becoming a familiar border or stripe design.
Garden Dibber Nails With Measured Planting Detail
Garden dibber nails use pointed wooden bodies, depth rings, grip collars, and soil markers to reflect the careful planting work that begins during cooler weather. Olive, terracotta, cream, dark brown, and slate blue create an earthy palette without flowers, leaves, or illustrated garden scenes. Long tapered forms suit almond nails, while short shapes can show one depth ring or an enlarged handle connection. Keep the markers broad and unnumbered for a clean graphic result.
Point a Terracotta Dibber Through Olive
Cover the nail in olive and paint one terracotta dibber beginning near the cuticle. Widen it through the lower center and taper it toward the tip, stopping before the point. Add two cream depth rings and a dark brown grip collar. The single directional form lengthens short nails and keeps the seasonal reference clear without adding soil, roots, or planted bulbs.
Wrap Slate Markers Around Cream
Use a cream foundation and place three slate blue marker bands across the upper half. Change their thickness and curve them gently to follow the nail. Add part of a dark brown dibber along one side and a terracotta point near the tip. The open base keeps the measured detail light while the changing bands avoid the look of ordinary horizontal stripes.
Crop an Olive Handle Near the Cuticle
Paint the nail terracotta and create one broad olive handle close to the cuticle. Add a cream end cap, a slate blue grip opening, and a short dark brown shaft extending toward the center. Stop the tool before the widest point. This compact arrangement balances longer dibber designs and gives rounded nails a practical autumn detail without crowding the surface.
Barometer Capsule Nails With Layered Pressure Forms
Barometer capsule nails focus on compressed metal chambers, fine link arms, adjusting screws, and curved pressure plates rather than full weather dials. Midnight blue, pewter, burgundy, fog gray, and ivory create an atmospheric palette suited to cooler days. Circular components can be cropped to avoid clocklike designs, while narrow mechanical links add movement. Use satin and gloss within the same shade family to create depth without chrome, glitter, or magnetic polish.
Layer Pewter Capsules Over Midnight Blue
Paint the nail midnight blue and place three flattened pewter capsules along one side, overlapping them slightly. Make the middle form widest and add a burgundy connector between the upper two sections. An ivory reflection along one edge separates the metal shapes. Leave the opposite side blue so the layered mechanism remains refined rather than becoming a row of circles.
Bend a Burgundy Link Arm Through Fog Gray
Use a fog gray base and paint one burgundy link arm travelling from the cuticle side toward the upper center. Add a small pewter joint at each turn and an ivory pressure plate near the tip. Keep the arm broad enough to read clearly. The changing direction creates technical movement without resembling a route map, chain, or ordinary diagonal line.
Crop an Ivory Pressure Plate at the Tip
Apply glossy burgundy polish and place one ivory pressure plate across the tip with a shallow curved lower edge. Add two pewter screws near opposite corners and part of a midnight blue capsule beneath the center. Leave a slim burgundy border above the point. The close view gives structured nails a bold finish while preserving the richness of the base color.
Walking Cane Collar Nails With Polished Tapered Detail
Walking cane collar nails explore metal bands, carved handles, ferrule joins, and slim shaft transitions connected to crisp weather walks and tailored autumn dressing. Tobacco brown, black, antique gold, cream, and bottle green form a sophisticated palette. The long shaft naturally follows almond nails, while short shapes can feature one enlarged collar or handle curve. Keep the forms clean and avoid full cane illustrations on every finger so the manicure feels fashionable rather than literal.
Fit an Antique Gold Collar Over Tobacco
Paint the nail bottle green and create one tobacco shaft rising from the cuticle toward the tip. Wrap an antique gold collar around the widest section and add a cream highlight along one side. Narrow the shaft gradually as it moves upward. The fitted construction emphasizes the almond silhouette and pairs naturally with brown boots, dark coats, and gold jewelry.
Curve a Black Handle Into Cream
Use a cream base and paint one black handle entering from the upper side. Give it a smooth inward curve, then connect it to a short tobacco shaft with an antique gold ring. Add one bottle green shadow beneath the bend. Cropping the handle beyond the edge creates a larger, more graphic shape while leaving enough cream for a clean appearance.
Stack Two Ferrule Bands Near the Point
Apply tobacco brown polish and place two narrow antique gold bands close to the point. Separate them with a black section and add a small cream reflection to only the upper band. A bottle green shaft can appear beneath the lower collar. The stacked detail gives coffin and almond tips definition without copying a standard tip, stripe, or metallic border.
Seed Drill Nails With Rolling Field Mechanics
Seed drill nails translate small wheels, seed chambers, release gates, and guiding arms into detailed harvest inspired art without painting crops, baskets, grain scoops, or farm landscapes. Mustard, deep green, rust, charcoal, and cream create strong fall contrast. One wheel can anchor a short nail, while longer shapes support a chamber and guide arm. Changing the angle of every component keeps the manicure active without repeating a complete machine.
Roll a Mustard Wheel Over Deep Green
Paint the nail deep green and place one mustard wheel slightly below the center. Divide it with five broad charcoal spokes and add a rust hub. Extend a short cream guide arm toward the tip. The wheel remains the focal point, while the open green background prevents the design from resembling a flower, sun, or decorative medallion.
Open a Rust Seed Gate Near the Side
Use a cream foundation and paint one rust chamber entering from the outer side. Add a deep green gate beneath it, held by a charcoal hinge and a small mustard lever. Let the chamber disappear beyond the edge so only the release mechanism remains visible. The cropped construction gives short rounded nails a strong technical detail without tiny illustrations.
Angle a Charcoal Guide Toward the Point
Apply mustard polish and create one charcoal guide arm beginning near the cuticle. Bend it once toward the point, then attach a deep green wheel section near the upper corner. Add a cream joint and one rust marker where the arm changes direction. The long structure works especially well on almond nails because it follows their natural taper while preserving bright mustard space.
Give Fall Nail Designs a More Personal Seasonal Language
Fall nail designs feel most memorable when they interpret overlooked seasonal objects instead of repeating the same familiar symbols. Pocket hand warmers bring compact vent geometry, while hat blocks introduce smooth crafted curves. Garden dibbers add measured planting detail, and barometer capsules create atmospheric mechanical layers. Walking cane collars offer polished tapered structure, while seed drills finish the collection with rolling harvest movement. Select the concept that suits your nail length and daily style, then repeat only one shade or small component on nearby fingers. You can also explore related articles about fall nail colors, almond manicures, short nail ideas, acrylic shapes, nail care, autumn outfits, jewelry styling, salon inspiration, hand care, and seasonal beauty.
