
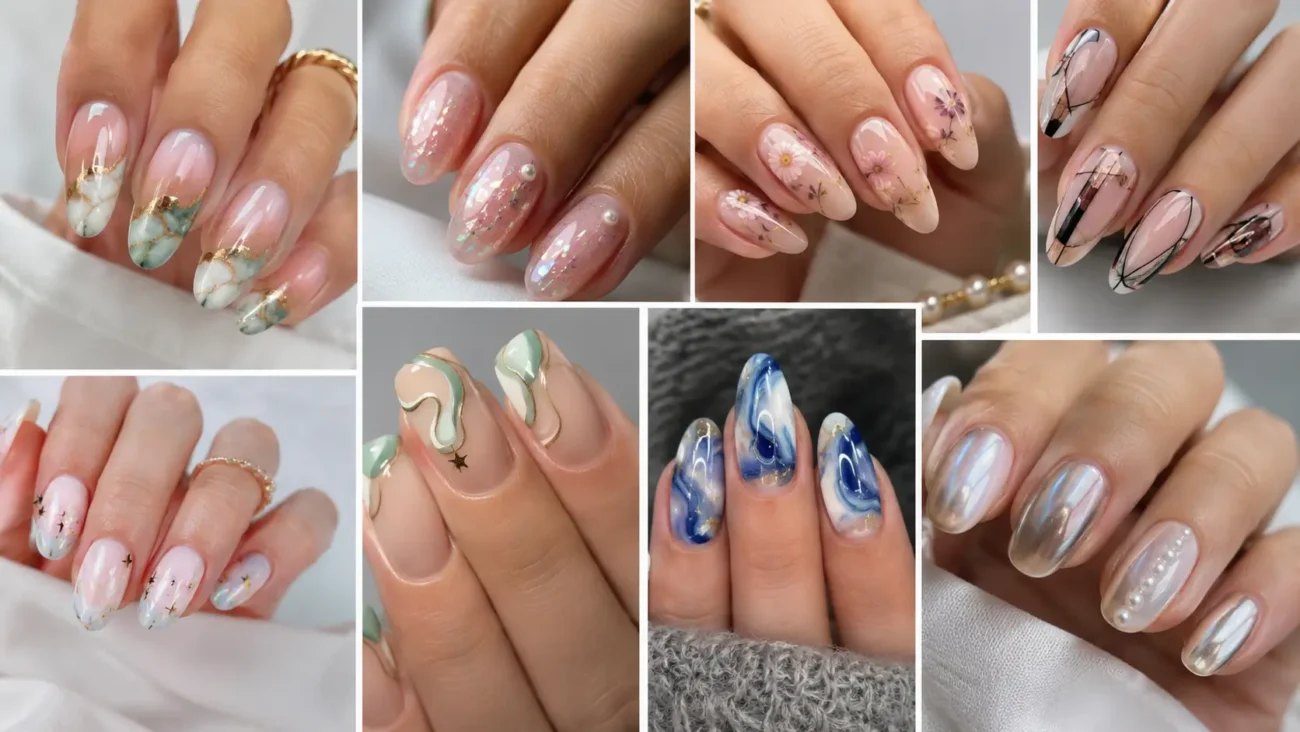
Nail ideas feel more memorable when they begin with a clear visual reference instead of a random collection of colors and decorations. A thoughtful manicure can use transparent layers, graphic shapes, reflective finishes, or tiny objects while still looking polished and wearable. The six concepts below explore microscope slides, elevator panels, staircase shadows, capsule packaging, tea rings, and misted windows.
Each direction includes three ways to personalize the theme for short square, rounded, oval, almond, or medium sculpted nails. You can choose one complete concept or borrow a single detail for a quieter set that fits everyday outfits, jewelry, and beauty styling.
Microscope Slide Nails With Stained Cellular Detail
Microscope slide nails turn scientific imagery into delicate abstract art through transparent color, circular forms, and fine internal markings.
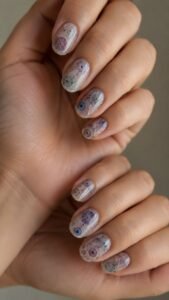
The result can look airy on a clear base or more dramatic over smoky gray. Keep every shape simplified so the manicure suggests magnified material without appearing crowded or overly literal.
Layer Translucent Cell Shapes
Paint overlapping circles and soft edged forms in violet, teal, rose, and amber, allowing the base to remain visible between them. Add one darker outline around selected cells and leave others unframed.
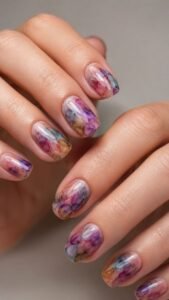
The changing transparency creates natural depth. A glossy seal makes the layers appear trapped beneath a smooth laboratory slide.
Build Pollen Grain Accents
Create several tiny radial circles with short lines, dots, or soft spikes around their edges. Use one larger grain on an accent nail and smaller versions near the sides of nearby fingers.
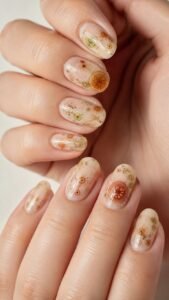
Golden brown, coral, and pale green work beautifully over cream or clear polish while keeping the unusual shapes easy to recognize.
Add Fine Sample Markers
Place one narrow number, dot, or short measurement line near the edge of selected nails. Keep these marks smaller than the cellular artwork so they support the scientific mood without taking control of the design.
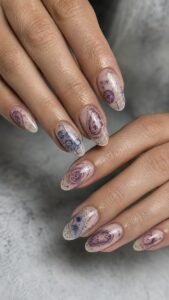
Black over a sheer base feels precise, while white markings over smoky polish create a softer contrast.
Elevator Panel Nails With Illuminated Button Details
Elevator panel nails use circular buttons, floor indicators, and brushed metal surfaces to create a sleek architectural manicure. Silver, charcoal, cream, and signal red give the idea a polished city mood.
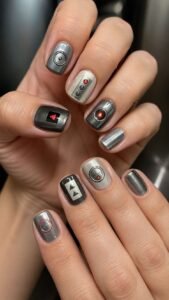
Short square and oval nails support the compact shapes, while longer nails provide room for vertical button arrangements.
Arrange Buttons in Vertical Pairs
Place two or three small circles in a straight column, leaving equal space between them. Fill most buttons with muted silver or charcoal, then choose one circle for a brighter light effect.
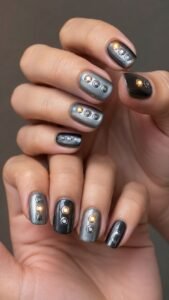
Repeating the same spacing across the hand keeps the manicure organized even when the illuminated button changes position.
Create a Glowing Floor Indicator
Paint a small dark rectangle near the cuticle or center, then add one pale number or upward arrow inside it. Surround the symbol with a narrow red, amber, or green glow.
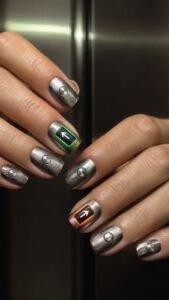
Use the complete display on only two accent nails and keep neighboring fingers focused on simpler button details.
Divide Brushed and Polished Metal
Cover the base in muted metallic gray, then create one glossy central panel while leaving the outer areas satin. The difference in reflection makes the nail look constructed from separate metal sections.
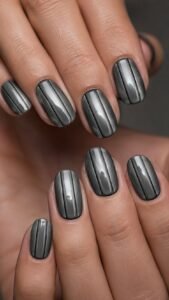
A fine dark border can define the panel, but generous open surface keeps the finish sophisticated rather than industrial.
Staircase Shadow Nails With Stepped Graphic Movement
Staircase shadow nails translate steps, landings, and slim handrails into clean graphic compositions. The design creates direction without relying on ordinary stripes.
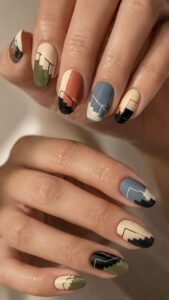
Clay, black, cream, muted blue, and olive can produce either a warm interior mood or a sharper modern palette. Keep each staircase cropped differently so the set feels connected but not copied.
Stack Offset Step Blocks
Build three or four rectangular blocks that rise diagonally across the nail. Use related shades from pale to deep or alternate two contrasting colors. Leave a narrow space between each step so the shape remains clear.
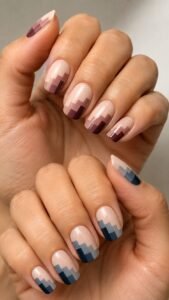
Changing the starting corner across selected fingers creates movement when both hands rest together.
Draw One Continuous Handrail
Add a fine line that follows the stepped design without touching every block. Begin near one side, rise through two angles, and finish before the tip.
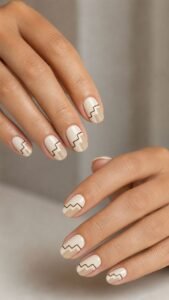
Dark brown over cream feels warm, while ivory over navy looks crisp. Keep the line equal in thickness so it resembles a planned architectural detail.
Cast a Long Landing Shadow
Paint one solid landing shape near the center, then add a translucent shadow extending downward or toward the side wall. The shadow can be plum over rose, gray over blue, or brown over beige.
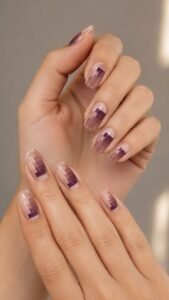
This softer layer introduces depth while allowing the geometric staircase structure to remain the main focus.
Capsule Blister Nails With Clear Packaging Dimension
Capsule blister nails borrow their visual language from transparent compartments, split color capsules, and silver backing grids. The idea feels playful when the colors are bright and more editorial when the palette stays neutral.
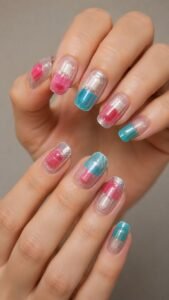
Use low raised gel or smooth painted effects so the finished surface remains comfortable and easy to seal.
Place Split Color Capsules
Create small rounded capsule shapes divided into two solid colors. Position one lengthwise near the center or place two smaller capsules at different angles.
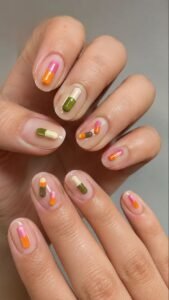
Rose with orange feels energetic, while cream with olive creates a quieter result. A narrow highlight gives each capsule a smooth polished appearance.
Build Clear Blister Domes
Add low transparent domes over tiny color dots or miniature symbols, keeping each raised area compact. Arrange them in a neat row on one accent nail and use only one dome on nearby fingers.
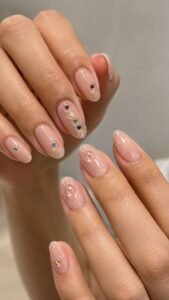
The clear surface catches light while the hidden detail beneath gives the manicure depth without excessive decoration.
Suggest Foil Backing With Soft Squares
Paint a grid of small silver or pearl squares on one or two nails, then leave selected spaces empty as though a capsule has been removed. Use satin metal rather than intense glitter so the backing looks smooth.
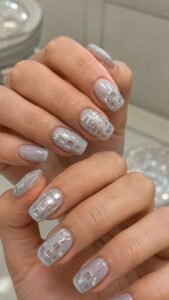
A clear or pale gray base keeps the graphic organized and lets every empty space remain visible.
Tea Ring Nails With Steeped Color and Delicate Sediment
Tea ring nails use translucent circles, warm stains, and tiny leaflike flecks to create a soft organic manicure. The palette can include amber, rose brown, smoky plum, pale green, and cream.
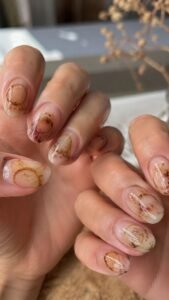
Rounded and oval nails suit the flowing marks, while a glossy finish makes each ring appear suspended inside the surface.
Paint Uneven Tannin Circles
Create one or two thin rings with slightly darker areas where the color appears to have collected. Avoid perfect circles because natural liquid marks have changing edges.
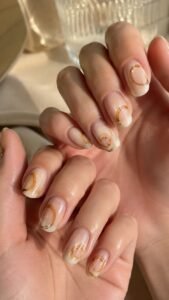
Place a large ring partly outside one nail and a smaller complete version on another. Warm beige or cloudy white provides a calm background.
Scatter Steeped Leaf Flecks
Add tiny irregular fragments in olive, dark brown, burgundy, or black near the edge of selected rings. Keep the flecks sparse and vary their size so they resemble settled tea leaves rather than confetti.
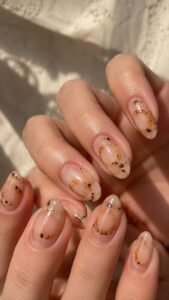
Seal them beneath clear gloss to create the appearance of fragments suspended below the polished surface.
Deepen One Nail With a Concentrated Pour
Choose one accent nail for a richer translucent wash that moves from pale amber near the cuticle to deeper brown near the tip. The change should remain fluid rather than perfectly blended.
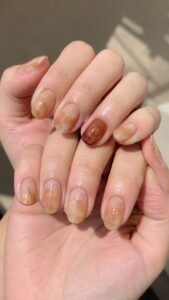
Add one faint ring over the darker area so the accent still belongs to the complete tea inspired manicure.
Window Condensation Nails With Misty Hidden Messages
Window condensation nails combine frosted surfaces, clear wiped areas, and tiny marks that appear drawn through mist. Cloud white, gray blue, blush, and charcoal create a calm palette that suits short and medium shapes.
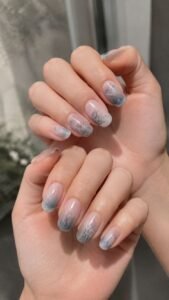
The design feels especially effective when matte and gloss are used together to imitate fogged and cleared glass.
Clear One Curved Wiped Path
Apply a soft matte veil across the nail, then create one glossy curved path through the center as though a finger wiped away condensation. Change the direction across the hand and keep the path wide enough to catch light.
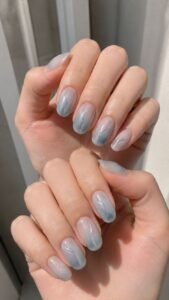
A pale blue or smoky base strengthens the cool glass effect without making the design dark.
Draw Tiny Shapes Through the Mist
Add one small heart, spiral, initial, or abstract symbol inside the frosted area. Use a clear glossy line rather than a contrasting color so the mark appears only when the nail moves.
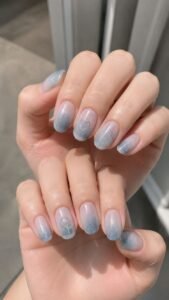
Limiting the drawing to selected fingers keeps the manicure personal and prevents the fogged surface from becoming visually busy.
Gather Droplets Along the Lower Edge
Place several tiny clear dots near the cuticle or one side, increasing their size gradually toward the lowest point. Keep the droplets low and smoothly sealed.
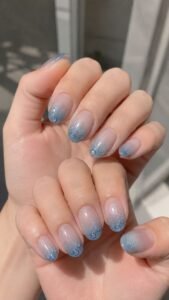
One accent nail can carry a longer descending trail, while the remaining fingers use only two or three dots to preserve the clean misted window mood.
Save the Nail Idea That Makes You Look Twice
The best nail ideas create a complete visual story while leaving enough space for every detail to remain clear. Microscope slides bring translucent scientific pattern, elevator panels add sleek illuminated geometry, and staircase shadows create architectural movement. Capsule blisters introduce playful packaging depth, tea rings offer warm organic marks, and window condensation brings subtle messages through changing finishes. Choose the concept that works with your preferred nail length and daily routine, then adjust the palette or number of accent nails for a more personal result. Related inspiration for nail colors, nail shapes, extensions, stickers, manicure care, and outfit styling can help you build a complete beauty look around your next set.
