
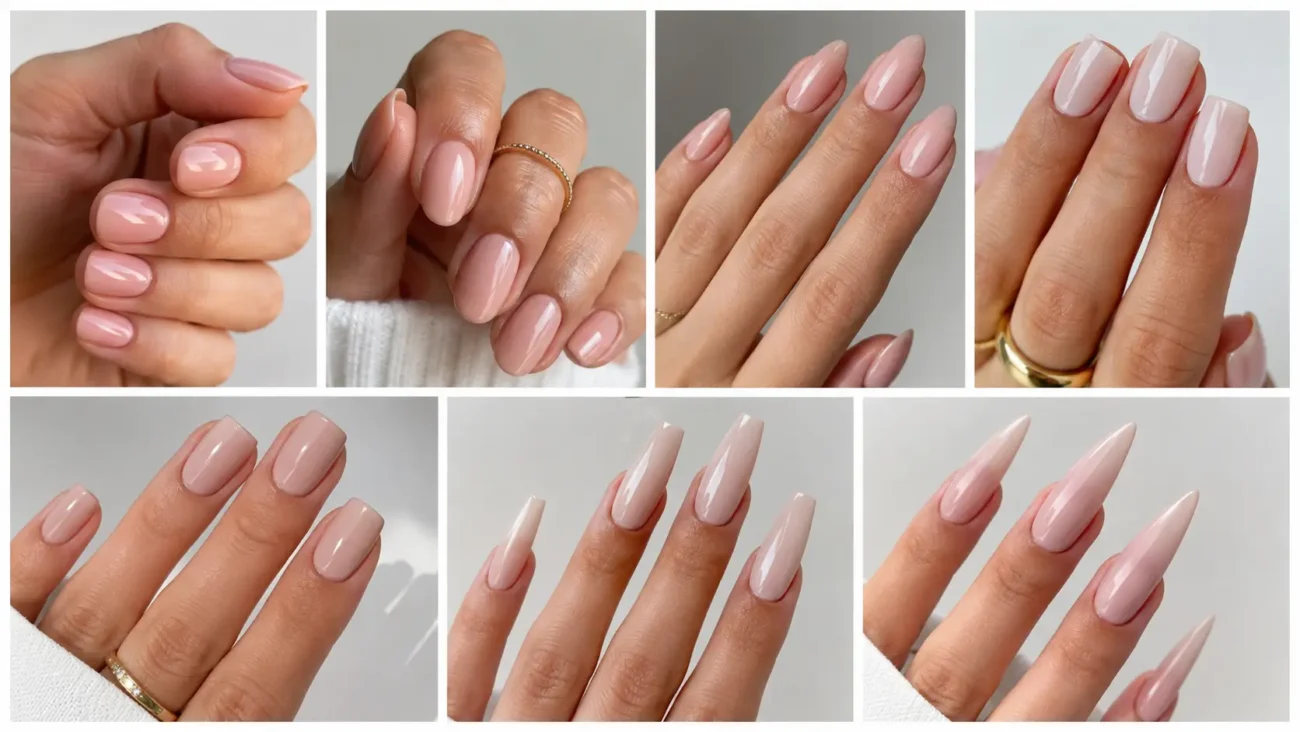
Nail shapes can change how long the fingers appear, how polish sits across the surface, and how comfortable a manicure feels during everyday tasks. The most flattering choice is not always the longest or most dramatic option. It is the shape that works with the natural nail bed, preferred length, and amount of upkeep you genuinely enjoy.
This collection moves beyond the silhouettes already explored in earlier articles and introduces six distinct directions with fresh proportions and styling possibilities. From compact squares to sculpted ridges, each idea offers a different way to make the hands look polished before color or decoration is even added.
Micro Square Nails With a Compact Fashion Finish
Micro square nails bring the strong outline of a square manicure to a very short length. The free edge sits only slightly beyond the fingertip, while the corners remain visible and carefully balanced.
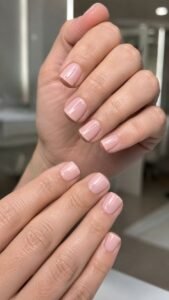
This shape looks especially clean with opaque color because the straight tip creates a crisp frame. It also suits anyone who likes a modern manicure that does not interfere with typing, dressing, or daily routines.
Keep the Free Edge Deliberately Short
Ask for only a slim line of length beyond the fingertip so the square shape feels compact rather than heavy. The side walls should remain straight, and both corners should finish at the same height.
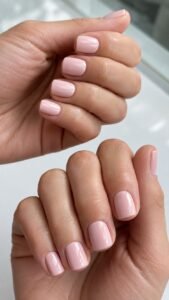
This controlled proportion creates a neat silhouette that works beautifully on naturally broad or medium nail beds.
Soften Only the Sharpest Corner Point
The manicure should still read as square from the front, but the very tip of each corner can be refined for comfort. Avoid rounding the entire edge because that changes the shape into a softer category.
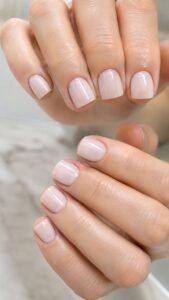
A tiny amount of smoothing keeps the outline bold while preventing the corners from catching on clothing or hair.
Use Solid Color to Emphasize the Outline
Creamy navy, muted red, mineral beige, and smoky green can make the short straight edge look especially polished. Apply the color evenly across the full surface and keep the cuticle line precise.
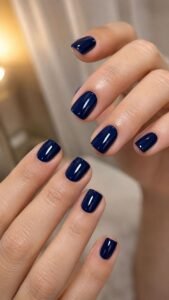
A glossy finish highlights the geometry, while a satin surface gives the same compact shape a quieter editorial mood.
Petal Oval Nails With a Graceful Rounded Tip
Petal oval nails use a fuller center and a smooth curved tip that resembles the outline of a flower petal. Unlike a narrow oval, this version keeps more width through the middle before tapering gently near the end.
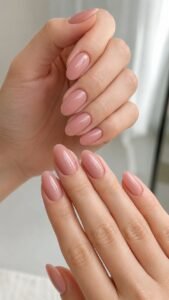
The result feels soft, balanced, and feminine without becoming pointed. Medium length gives the curve enough room to develop while preserving strength along the side walls.
Preserve Fullness Through the Center
Keep the widest part of the nail close to the natural nail bed instead of filing it away too early. The sides should begin narrowing only after they move beyond the fingertip.
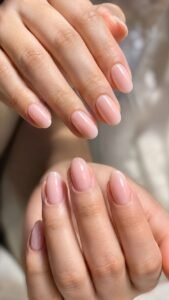
This creates the rounded petal proportion and prevents the shape from looking thin or stretched when viewed from above.
Shape One Continuous Tip Curve
File from each side toward the center using smooth movements, then check that the highest point of the curve sits directly in the middle. There should be no flat section or sudden point at the end.
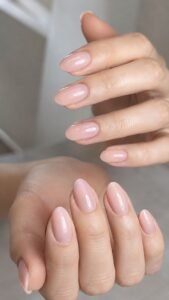
A continuous arc gives the shape its calm appearance and helps all ten nails look related.
Choose Translucent Color for Soft Depth
A sheer tea rose, cloudy lavender, pale almond cream, or muted peach can enhance the petal silhouette without hiding its gentle proportions. Build the shade in thin layers so the center appears slightly deeper than the edge.
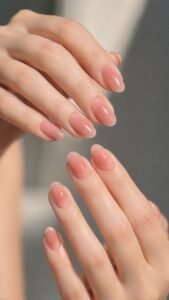
Clear shine creates a fresh finish that suits simple outfits and delicate jewelry.
Arrowhead Nails With a Bold Short Point
Arrowhead nails create direction through straight angled sides that meet at a short defined point. They are broader and more compact than a stiletto, giving the manicure graphic energy without extreme length.
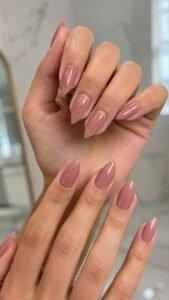
The shape works best on strengthened natural nails or carefully built enhancements because the center point needs balanced support. Medium length keeps the arrowhead easy to recognize while remaining wearable.
Begin the Taper Beyond the Fingertip
Keep the sides close to the natural width until they pass the fingertip, then angle them inward toward the center. Starting the taper too early can make the nail appear narrow and fragile.
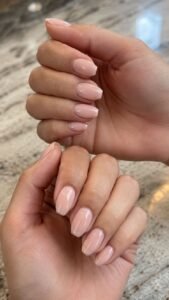
A later taper preserves strength and creates the broad base that separates an arrowhead from a softer pointed shape.
Form a Short Centered Point
The tip should meet clearly at the center without extending into a long needle shape. Check the nail from the palm side and from above to make sure the angles match.
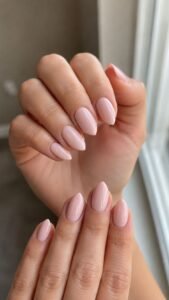
A minute softening at the final point can improve comfort while allowing the arrowhead silhouette to remain sharp and recognizable.
Use Directional Color Blocking
Divide the surface into two or three angled areas that follow the sides toward the point. Choose related colors such as charcoal, stone, and cream or plum, rose, and beige.
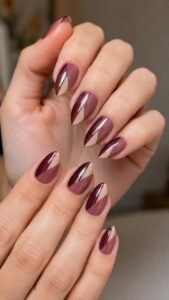
Keeping the color lines aligned with the structure strengthens the directional effect and makes the shape look intentionally designed.
Mountain Peak Nails With a Compact Dramatic Rise
Mountain peak nails have a shorter pointed tip and slightly curved side walls that rise toward the center. They feel more dramatic than almond nails but less elongated than a classic stiletto.
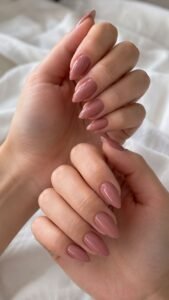
This silhouette works well for anyone who wants a noticeable point without committing to extreme length. A balanced apex and even side profile help the shape remain stable and visually centered.
Keep the Peak Close to the Fingertip
Build only enough length to create a visible rise toward the center. The point should sit close to the natural fingertip rather than extending far beyond it.
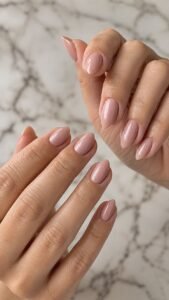
This compact proportion gives the manicure impact while making the shape easier to manage during everyday activities.
Curve the Sides Before the Final Point
Instead of filing two completely straight diagonal lines, allow a slight outward curve through the lower sides before narrowing near the end. The soft curve gives the shape a sculpted mountain profile.
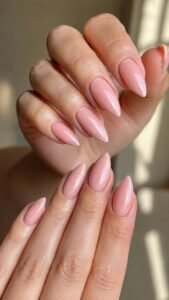
Both sides should mirror one another so the point does not lean toward either edge.
Highlight the Summit With Tonal Polish
Apply one base shade across the nail, then place a slightly lighter tone near the upper center to draw attention toward the peak. Keep the transition clean rather than blended like an aura.
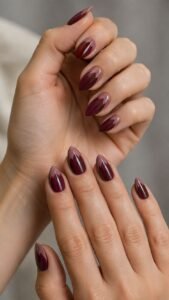
Clay with sand, deep blue with slate, or burgundy with dusty rose can create depth while preserving the silhouette.
Edge Ridge Nails With Architectural Dimension
Edge ridge nails use a raised center line that divides the upper surface into two angled planes. The free edge forms a subtle roof shape when viewed from the front, giving the manicure an architectural character.
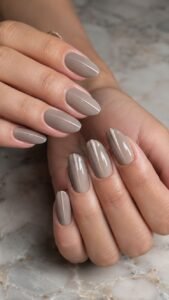
This structure is usually created with enhancement material because the ridge and side planes require careful building. Medium length offers enough space for the profile to remain visible without becoming overly theatrical.
Build a Straight Central Spine
The ridge should travel from the apex toward the free edge in one clean line. It must remain centered on every nail so the two planes appear balanced.
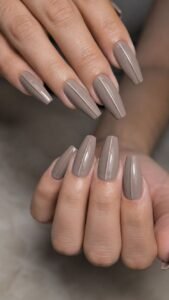
Viewing the structure from several angles helps reveal twisting or uneven height before the surface is finished.
File Two Matching Side Planes
Shape each side as a smooth flat plane that meets the central spine without dips or bulky areas. The planes should reflect light separately, making the dimension noticeable even under one color.
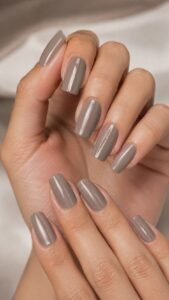
Consistent filing creates the refined roof profile that defines this unusual nail shape.
Separate the Planes With Finish
Cover the full nail in one sophisticated shade, then leave one plane glossy and the other softly satin. Because the color stays consistent, the difference appears through changing reflection rather than a busy pattern.
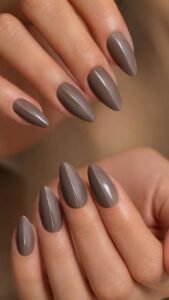
Deep cocoa, graphite, muted teal, or warm taupe can show the structure beautifully.
Cut Corner Rectangle Nails With Tailored Precision
Cut corner rectangle nails begin with straight sides and a level free edge, then replace sharp square corners with short diagonal cuts. The result resembles a carefully shaped frame or clipped card.
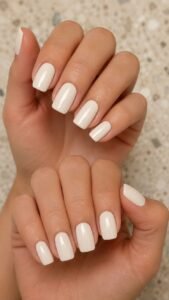
It feels graphic and tailored while offering more comfort than a completely sharp square. Medium length provides enough room for the corner cuts to remain visible and symmetrical.
Keep the Side Walls Nearly Parallel
File the sides straight from the nail bed toward the tip without noticeable taper or flare. Parallel lines give the shape its rectangular foundation.
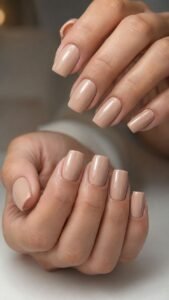
Check both sides from above so the extension or natural edge does not lean, widen, or narrow unexpectedly.
Clip Both Corners at Equal Angles
Remove a small diagonal section from each corner, keeping the cuts identical in length and slope. The center of the free edge should remain straight and longer than either clipped section.
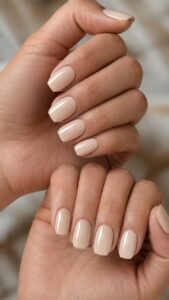
Careful symmetry is essential because even a small difference can make the shape appear uneven.
Echo the Corners With Framed Color
Paint a narrow border that follows the straight sides, diagonal cuts, and central edge while leaving the middle in a sheer or contrasting shade. The outline emphasizes every part of the silhouette without changing its structure.
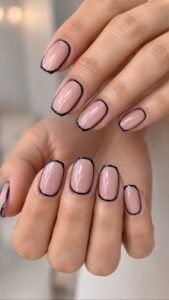
Cream with brown, blue with gray, or black with soft pink can create a clean tailored finish.
Choose the Nail Shape Before Choosing the Nail Art
The right nail shape gives every polish color and decorative detail a stronger foundation. Micro square nails offer compact confidence, while petal ovals create a soft continuous curve. Arrowheads bring graphic direction, mountain peaks add a short dramatic point, and edge ridge nails turn the upper surface into architecture. Cut corner rectangles finish the collection with tailored precision and comfortable angles. Save the silhouette that suits your natural nail bed, daily routine, and preferred length, then discuss strength and maintenance with a trained nail professional. Related inspiration for nail colors, nail extensions, manicure care, short nails, nail stickers, and outfit styling can help you build a complete look around the final shape.
